 This is a tutorial to guide you on how you can get your online store up and running in minutes using wordpress and woocommerce plugin. In this tutorial, I’ll be teaching you how to set up a WordPress and WooCommerce online store where you can list and sell your products.
Disclosure: This post contains affiliates links and I will earn a commission if purchased through my link. Thanks for your support.
It is important to know that WooCommerce is the best way to turn your WordPress website into a fully functional e-commerce store, it is a WordPress plugin that needs to be installed and activated just like any other plugins in order for it to work. The good news about it is that is free to use just like wordpress, you may not need to change your current theme or designs if you have an existing website, you can sell virtually anything on your store (Digital products, Physical products, Services, Bookings, Subscriptions, Customizations etc) and it is very easy to set up all by yourself following this tutorial.
Also, you may prefer to build your dropshipping website with the use of a plugin called Alidropship plugin. This plugin helps you create a professional dropshipping store in minutes with ease. This plugin comes with both the wordpress version and the woocommerce version and its cost one time payment of $89 but if you hurry and purchase the plugin through this link, you will get a 35% off your purchase using the coupon code “NEWSEASON35” at checkout.
To setup your store with Alidropship plugin, I have prepared a free video tutorial on how to use the plugin in building your dropshipping store.
Click here to watch the Video Tutorial
In building an E-commerce store for your business, there are some basic steps you will need to follow;
First of all, you will need to get a domain name and an hosting plan. A domain name is the name your store will bear both online and offline (eg yourname.com or any other extension but I will advice you go for .com).
A Web Hosting is where your store will be hosted for your online store to be found online.
There are lot of domain names and hosting service providers out there but I will like to recommend bluehost for both your hosting and domain name but if you are really on a low budget, you can used whogohost and smartweb, their services and response rate is close to 100% and their hosting plans are reliable too.
Bluehost.com is very much realiable and affordable. When you sign up with them, you get free domain name for a year. With whogohost and smartweb.ng, you get a .com.ng domain extension for free but with bluehost, you get a .com domain extention free for the first year and host plans starting at $2.95/month. Moreso, they are officially recommended by WordPress.org.
So let’ get started by visiting www.bluehost.com

- Click on get started button
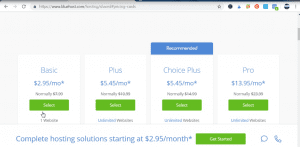
- Choose your hosting plan- Basic , Plus, Choice plus and Pro plan
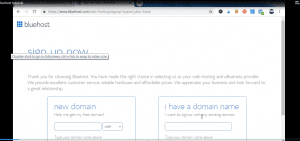
- Type in your chosen domain name and click on next
Like I said earlier in my previous post, make sure your domain name is unique, easy to remember and related to your business. If you already have a business, you can go for the option that says “I have a domain name” and in this case, you will need to point the nameservers to that of Bluehost.
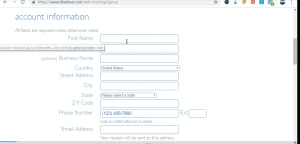
- Fill in the necessary details
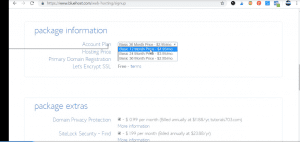
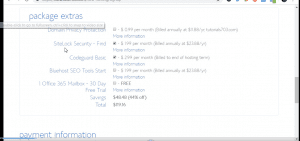
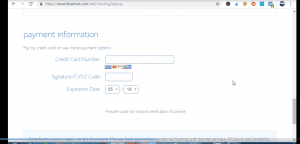
- Finalize the setup and make the payment.
Immidiately after checkout, bluehost will notify you to create a password.
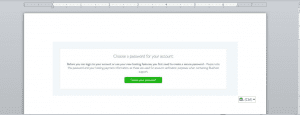
- After login, you will be presented with some free theme, skip it and go to next to see welcome to wordpresss and you will click on my site.

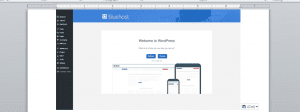

- Setup your wordpress site by adding your details following a few procedures.
Great! You just got the bulk of the job done – you now have a domain name, hosting plan and WordPress site
The goodnews is that bluehost automatically install WordPress right from the Bluehost dashboard and you can also use your details as well as the password you just created to login into your cpanel.
For those that will be using other hosting services like whogohost or smartweb, you will need to install wordpress through your cpanel sent to your email address by your hosting providers. (check your email for your cpanel login from your host)

Once you login, scroll down until you see an icon labeled “WordPress” under softaculous, click on install and fill in the necessary details.
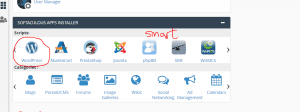
- At this point, you should have a blank WordPress website installed.
Your cpanel should look some thing like yourdomain.com/cpanel and your wordpress login should look something like yourdomain.com/wp-admin
The next step is to install Woocommerce plugin
Woocommerce plugin helps you in turning your wordpress site into a beautified store
- Go to your wordpress dashboard to locate “plugin->new plugin->search for woocomerce->click on install, wait a few seconds and activate it after
 installation”
Click on “Let’s Go!” from the woocommerce onscreen setup popup
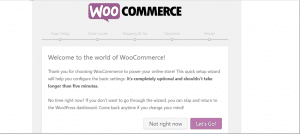
The next step is to create some necessary pages
This pages are important to your store functionality. Although, woocommerce helps you in creating some pages like ;
- Shop – this is where your products are going to be displayed alongside their prices.
- Shopping cart – this is where your customers can adjust their order before proceeding to checkout.
- Checkout – this is where the customers choose the shipping/delivery method and make payment
- My Account – with this page, customers will be able to view their past orders and manage other details).
All you need to do at this stage of the WooCommerce wizard is click the “Continue” button for WooCommerce to set up those pages for you.
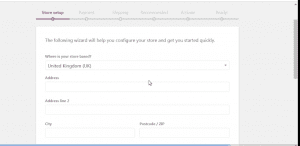
Set up locale
Your locale is the location of your business which is also very important in defining your business origin, currency, and preferred units
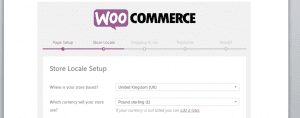
Your locale is the location of your business which is also very important in defining your business origin, currency, and preferred units
Click “Continue” once you’re done.
The next step is shipping and tax
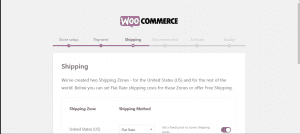
- Choose either free shipping or flat rate and move to Recommendation stage
On tax settings, wooCommerce has a very neat tax module, the best thing about it is that it helps you figure out the tax rates based on your store location that you have indicated in the previous step.
Note: You have to know the taxation rules of your country to double check it.
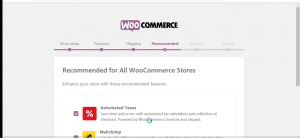
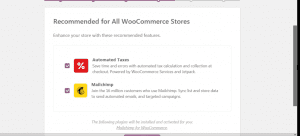
Also on recommendation stage, you can sign up for mailchimp email marketing right from there or jetpack.
The next step is the payment method/gateway
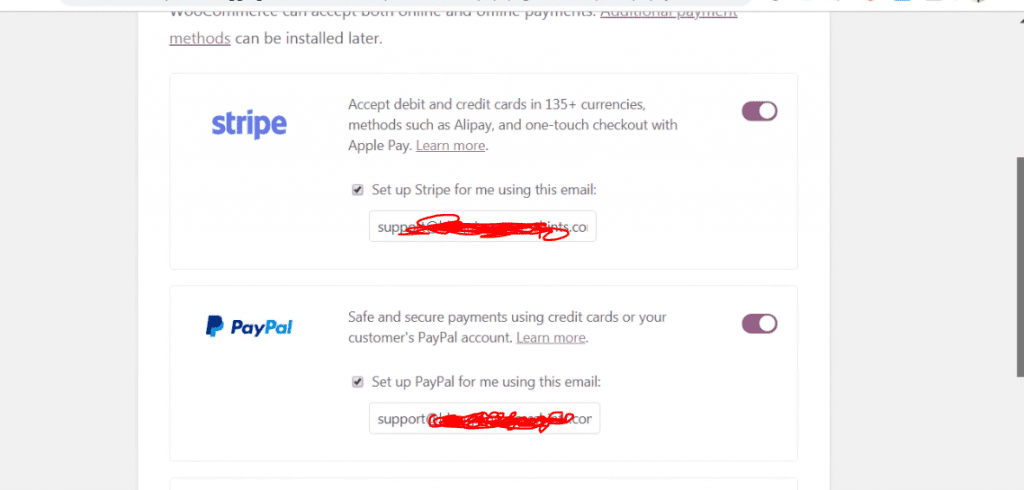
On this stage, I will recommend you fill in paypal as your payment gateway but it is highly recommended that you integrate your store with both Paypal and Stripe by Just clicking on their corresponding check boxes. Though you can go for other payment gateways like check payment, bank transfer and payment on delivery.
It is important to note that in order to make online payments work, you need to sign up with either PayPal or Stripe separately.
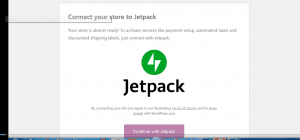
Again, click “Continue” to move to the next step which is to activate jetpack if you want
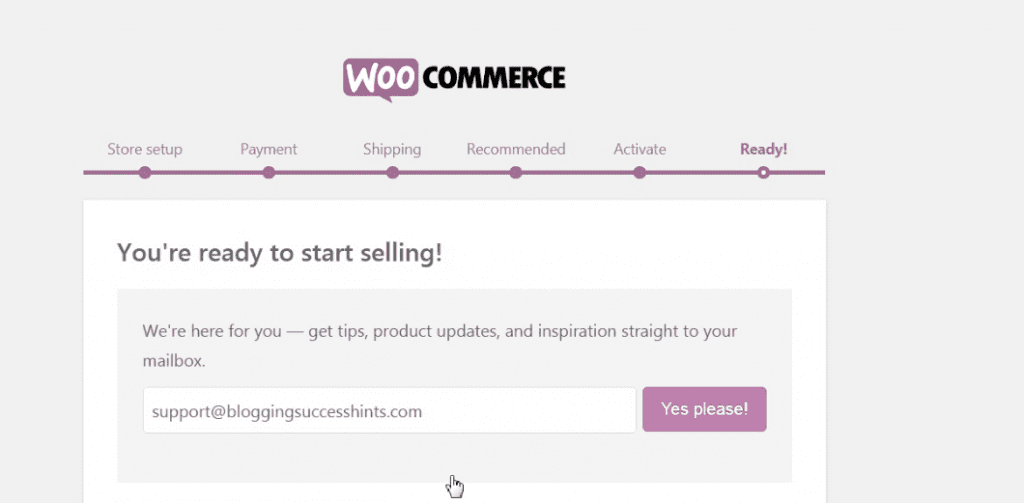
Hurray!, you just built a blank e-commerce store with WooCommerce!
The next step is the beautification of your store by adding a theme
The theme you choose will speak for the designs and the way your products will be displayed on your store.
Although, the WooCommerce plugin must have installed its default theme on your website which is storefront which works fine with the woocommerce plugin.
For store customization of the theme, go to Appearance / Customize. This will allow you to see the front end of your website as you customize to your taste.
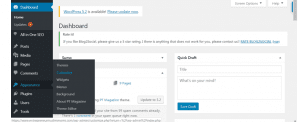
You can also go for a premium themes (visit themeforest, the largest worpress theme store) for your e-commerce website if you like, by uploading it to your wordpress dashboard.
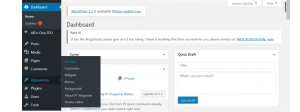
- Under theme-> add new->locate “upload” on the top center of the screen-> install and activate the theme.
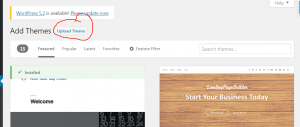
The next step is adding products
Yes, you need to start adding products to your store for it to be operational (products, services, downloads, or whatever it is that you want to sell).
On your wordpress dashboard, locate products from the dashboard
- Go to Add Product
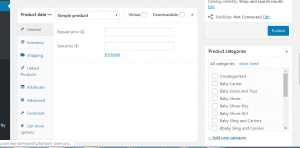
- An editing screen will pop up like the one above
- Add the product name and description of the product.
- Input as much information as possible about the product in the description box, add images/galleries, add videos if necessary, add the various parameters of the product.
- Set the pricing and taxes.
- Manage stock levels by setting the inventory.
- Set the Shipping weight, dimensions, and the cost of shipping.
- Linked Products if necessary for setting upsells, cross-sales, etc.
- Set custom product attributes. This helps you to add variations of the product in terms of color, sizes etc
- Write a short description of the product that will displayed on the front end.
- Create the Product Categories to be able to group similar products together.
- Give the products some tags just like the standard WordPress tags.
- After all the setting, click on publish
- Add a few products more by following the same step
Let’s move to the next step by checking out some woocommerce extensions/add-ons
You can visit the official website of woocommerce to see them (www.woocommerce.com)
Among the addons are;
- Shipping extensions- if you want to automatically integrate your store with the official shipping rates from companies such as UPS or FedEx then this will come in handy.
- Payment gateways. If want to accept more payment methods with the standard PayPal. It helps you to accept more payment methods on your store
- WooCommerce Subscriptions- allows customers subscribe to your products or services and pay a weekly, monthly or annual fee.
- Accounting extensions-It helps you to ntegrate your WooCommerce store with the accounting tool of your choice.
- WooCommerce Bookings-allow customers to book appointments for services without leaving your site.
Let’ look at some plugins that can help in supercharging your e-commerce store
These are;
- All in one Seo Pack/Yoast SEO-helps you improve the SEO of your website.
- SEO for WooCommerce plugin- helps improve the SEO of your products and other areas of your e-commerce store.
- WooCommerce Multilingual- run your store in multiple languages using this plugin.
- Contact Form 7- your store visitors can contact you directly ny filling the form.
- Updraft Plus-help back up all your site content, including your products and other store data.
- Social Share Buttons by GetSocial-it makes it possible for your buyers share your products with their friends and family through social media with this plugin.
- Google analytics-integrate your site with Google Analytics to monitor your site traffic.
- W3 Total Cache- helps speed up your website through caching and makes it load faster.
In conclusion, to create an e-commerce store, we will need to follow the following few steps;
- Get a domain name and hosting plan
- Install wordpress and woocomerce plugin
- Activate woocomerce and set the woocommerce setting
- Setup locate, tax and shipping and payment gateways
- Add a theme to your store
- Set and adjust your store shop page, cart page, checkout as well as other pages
On the Extentions and Plugins
- Remember the payment gateways
- Remember some of the woocommerce extentions
- Remember to install all of the plugins that will supercharge your e-commerce store like the All in one SEO Pack/Yoast SEO, SEO for woocommerce, Contact form7, Social Share Buttons, Undraft etc.
WordPress+woocommerce platform offers almost all of the functionality you need to sell products online.
If you love this article, please remember to share it with your friends on social media.
Thanks.

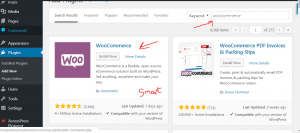 installation”
Leave a Reply