Have you been thinking of creating a website for your business but you don’t know how to go about it? This article will guide you on how to create an amazing website from scratch step by step.
Disclaimer: This article contains affiliate links. I may make a commission if you signup through my link which is what I use in running this site at no extra cost to you. You can view the affiliate disclosure from here.
To make a website is actually very simple and easy to do following some steps without learning anything about coding. All you need is the right tools and resources to get started.
There are three steps in creating a professional looking website;
- A domain name and Hosting
- Website Building Platform
- Setup and Customize Website
1. A domain name and Hosting: A domain name is your website address while hosting is where your websites files are stored and it helps people find your website on the internet. These two items are very important in creating a website.
Good News ! You can get your domain name for FREE with Bluehost when you buy your webhosting. You can use this link to get a free domain name for one year. View the affiliate disclosure page here.
- To get started, head over to Bluehost and click on get started.
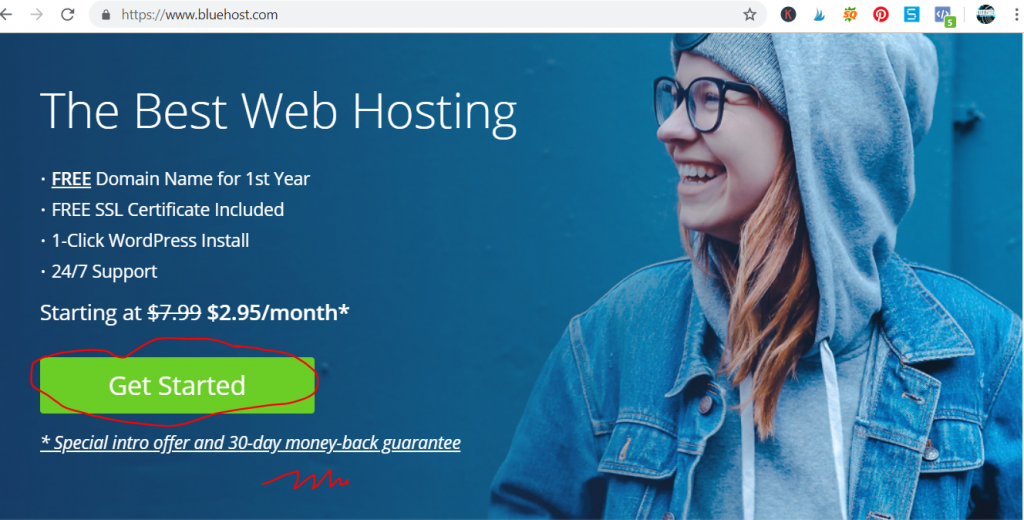
- Type in your domain name or an existing domain.

- Choose the basic or plus plan.

- Create Your Account by filling in your details and making your payment.


- Check Your Plan Information and Finish the Registration Process by clicking the submit button.

- Confirm Your Account by logging into your email account and clicking the verify button to confirm your account.
Next, scroll down to create your password under the congratulatory message on your screen.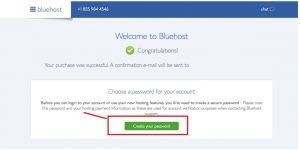
Make sure is the password you can easily remember or better still, save it on a notepad.
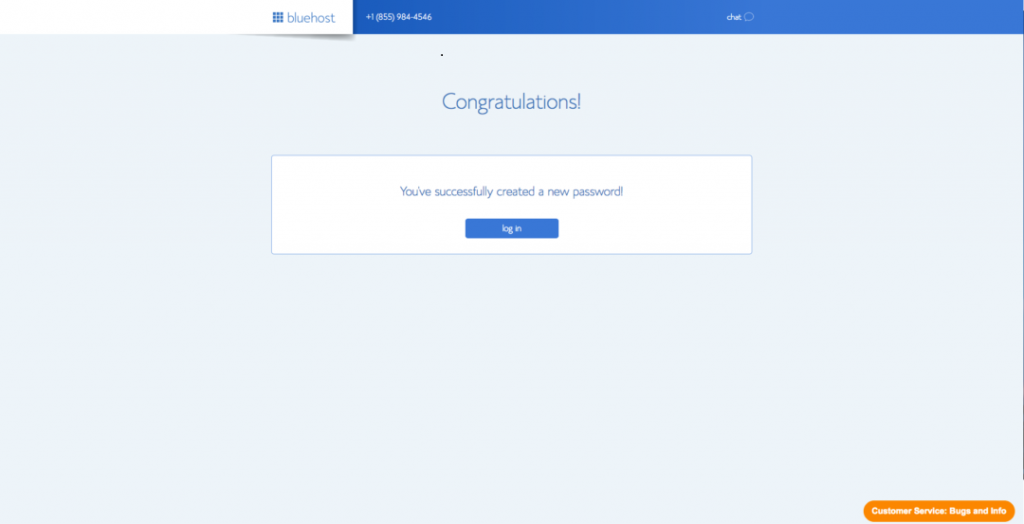
You will be redirected into your Bluehost dashboard where you can login into your WordPress account.
2. Website Building Platform: To create and customize your website, you will need to decide which platform to use in designing your website. We have many different content management systems to choose from. We have platforms like Wix, Weebly, Squarespace, WordPress, Drupal and Joomla. Some platforms require you to know a little bit of HTML / CSS or other coding languages, so you really need to know your website building ability but if you are a beginner, it is better you choose WordPress.org. I will recommend WordPress any time any day. WordPress is free, robust, and it can be installed with just one-click and is used by over 40% of all websites on the web. It comes free with most hosting services out there and with Bluehost, it is automatically installed.
3. Set up your website and customize it into a professional looking website.
Having purchased your domain name and hosting, it’s time to make your website functional by installing wordpress. One great feature of Bluehost is that WordPress is automatically installed during your course of signing up for your hosting account. To install wordpress or view your wordpress dashboard;
- Log in to your Bluehost hosting account by entering your domain name and with your password.
- On the next screen, you are to enter your website details (Site title and tagline) and click continue.
- Say alittle bit about yourself and your site, choose a theme or skip this step and once you’ve done this, the WordPress installation will happen automatically.
Having logged into your Bluehost dashboard, the next thing to do is to click on the My Sites option in the left hand navigation bar.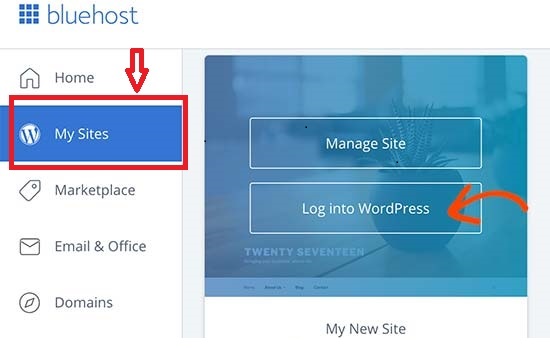
- Click on the login to WordPress button.
All done! You are in your WordPress Dashboard.
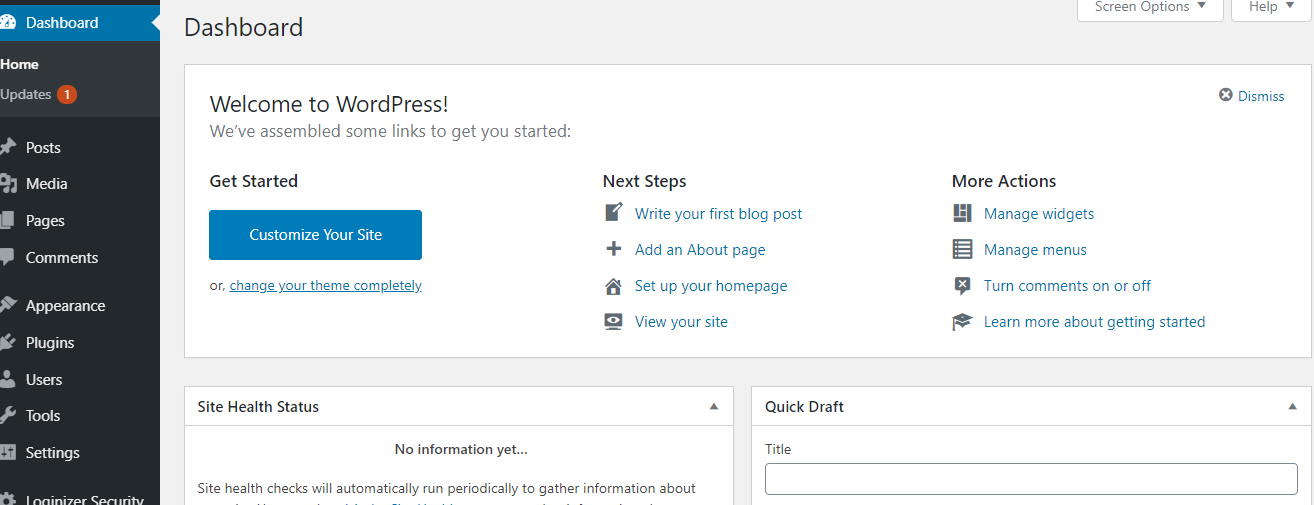
Bluehost must have sent you your cpanel login details and a confirmation message. Click on the confirmation link to confirm your account. Remember to save your login details in a place on your desktop or notepad.
Click the coming soon active button and click launch your site to make your site live!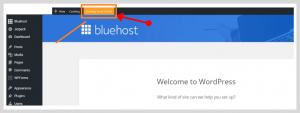
- Next, choose a theme for your website. Although, WordPress automatically installs a theme for you during installation of WordPress but you can always change it to the theme of your choice. There tens of thousands of WordPress themes to choose from right from your WordPress dashboard and you can also go for a Premium theme.
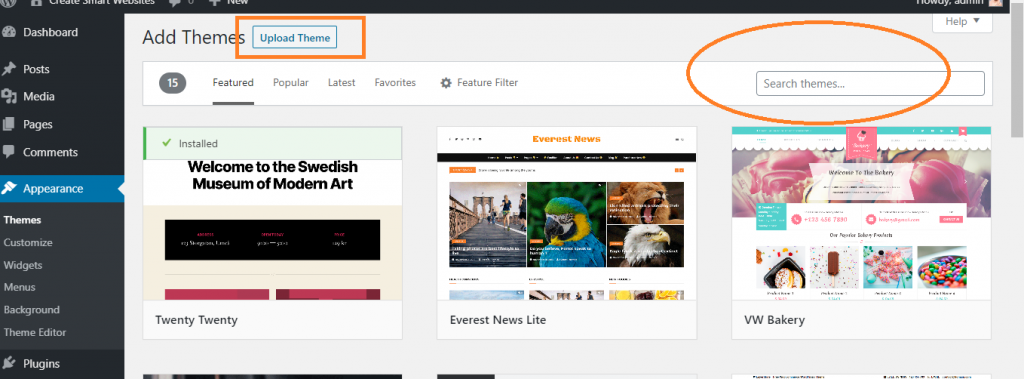
To install a theme or change a theme, click on Appearance then click on Themes. This will redirect you to the main page for WordPress’ free themes section.
Click on the Add New button and search for your desired theme in the search box. You can also search for themes via Most popular, featured themes or Latest Themes. You can also upload a Premium theme for more professional looking site.
A Premium theme will help in customizing your website to your taste. A premeium theme has reliable code base and be rest assured to get support if anything goes wrong with your site.
To install your premium theme, click appearance>>theme>>add new>>upload theme>>click on install>>activate.
The next thing to do is to install some WordPress plugins to enhance your website customization and growth.
Plugins helps in adding extra features and functionality to your website. It helps in turning a normal website into an online store or membership site in minutes.
To install a plugin, from your WordPress dashboard>>click on plugin>>add new>>search for plugin you intend to install>>click on install and activate after installing.
Some of the useful plugins you will need to install are;
All in one Seo Pack/Yoast: This plugin help keep your site SEO friendly and alerts you of any issues concerning your website.
Contact Form 7 : This plugin allows you to create and manage multiple contact forms on your website.
WPCatche: This helps to speed up your website loading time.
Next step is to create your website pages starting from the home page, about me page, services page etc. To create your website pages, go to the pages section from the dashboard>>click on add new page>>type in your page title>>click on publish.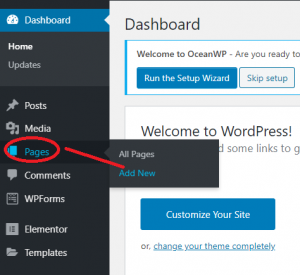 Follow the same step to create all your pages then create your site navigation.
To create your site navigation, you will need to create a Menu and add items to your menu. The items to add are the pages you created earlier.
To do that click on appearance >>Menu >> Click on add new >>Name the menu and click on save. Then add some of the pages, posts or categories to the menu and click on save. Refresh your site to see all your pages, post or categories links showing on the menu bar.
In addition to creating pages, you may want to have a blog section on your website which is a great idea. All your published contents will be in the blog feed and will be added via the post section of your WordPress dashboard. You can as well divide your blog posts into categories for easy navigation by your website visitors.
To create a blog post, click the post section from your WordPress dashboard >>Click on add new >> Write you post title or headline >>write your contents on the text editor and click the publish button.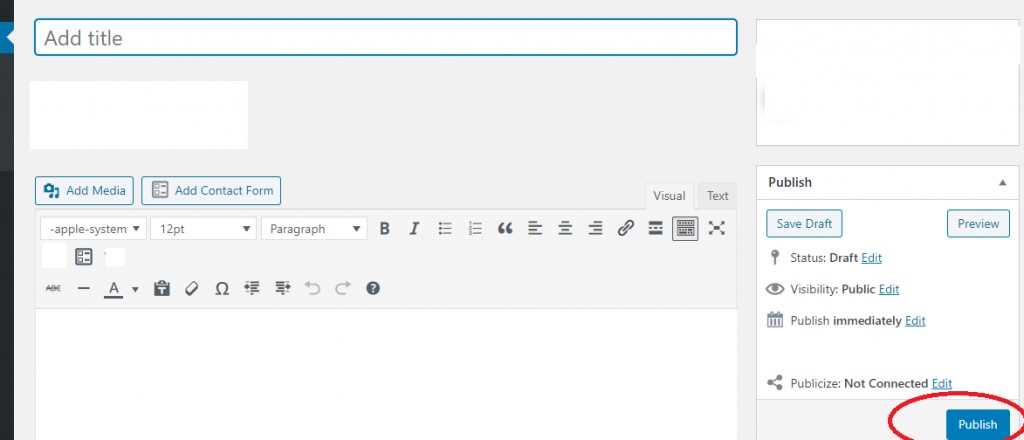
Congratulations! You have just created your first website. If you are stock in any way, do feel free to contact me directly or by making use of the contact form. If you find this post educating, do share it with your followers on social media or pin it for later on Pinterest.  Remember to drop your thought on this post in the comment section.
To your success!


Leave a Reply